Anything is Possible: How I Built This Site in Just 3 Days
The Beginning
I "woke up" a year and a half ago when I discovered that, thanks to LLMs and AI, I could understand how things work today much faster. What Vercel is, what GitHub does, and what's the deal with a headless CMS. To be honest, I was very skeptical. I wondered why people made life so difficult for themselves by creating frameworks and complex network setups where they didn't seem necessary. Now I know: it really is better this way.
Python and a course on boot.dev helped me tremendously in my return to programming. I finished it and honestly had a blast; I did it because I've always wanted to understand what I'm actually doing, rather than just "forwarding emails." With a solid foundation and a few "for fun" projects where I could learn from my own mistakes, I arrived at where I am today: building a site based on Next.js, TailwindCSS, and Storyblok CMS, featuring a contact form powered by Resend, full responsiveness, background particle animations, and a navbar easter egg, all in less than 3 days.
How was it possible?
First and foremost, over the last year, I've upskilled in LLMs, CLI integrations, MCP (Model Context Protocol) servers, and how to use them. If you are programming or want to start, I sincerely recommend Claude.ai. It is by far the best option. Neither Google nor OpenAI provides that level of speed, precision, and quality. However, Claude still makes a million mistakes, and if you don't know what's happening under the hood, it's hard to find your way.
That's why, if you want to program with AI rather than just "vibe-coding," there is only one piece of advice: learn what Linux/Unix is, learn the commands, get to know Bash scripting, Neovim, and see how you can regain control over your own computer. For me, the catalyst was the appearance of the Omarchy distro (based on Arch, btw).
The next step is learning a programming language. I recommend Python. I tried Java before and it didn't click at all. I also recommend boot.dev, which focuses on turning you into a backend developer and equipping you with all the necessary tools and knowledge. Once you've done that, you can start planning.
Step 1: The Plan
The most important part of collaborating with Claude is a good plan. If we don't get it right at the start, we'll spend our time struggling and trying to fix everything later.
What do we need to plan? Primarily our tech stack plus plugins and MCPs for Claude that will help it realize the vision. I've grown very fond of Next.js. It's a great framework and felt quite intuitive a year ago, so I stuck with it. I'm tempted by Ruby on Rails, but not enough to actually dive into Ruby; I also don't use Django despite my Python knowledge. I made some attempts, but honestly, I didn't get the impression that Django and Python were a great fit for the modern web. It works, but not as seamlessly as Next.js.
Next: TailwindCSS. It's a framework that greatly simplifies setting up CSS. I won't get into the details now, but you basically import Tailwind and you no longer need to create separate .css files or write that code manually. You style directly in the source of your application. And yes, application. What blew my mind the most is the fact that most modern sites are effectively applications, not just "WordPress sites" like they used to be. I understand PHP, CMS, and plugins, but modern frameworks and languages offer so much more than WordPress.
Where to render, deploy, and host? I choose Vercel. One of the best arguments for this is simply that Vercel and Next.js are the same team.
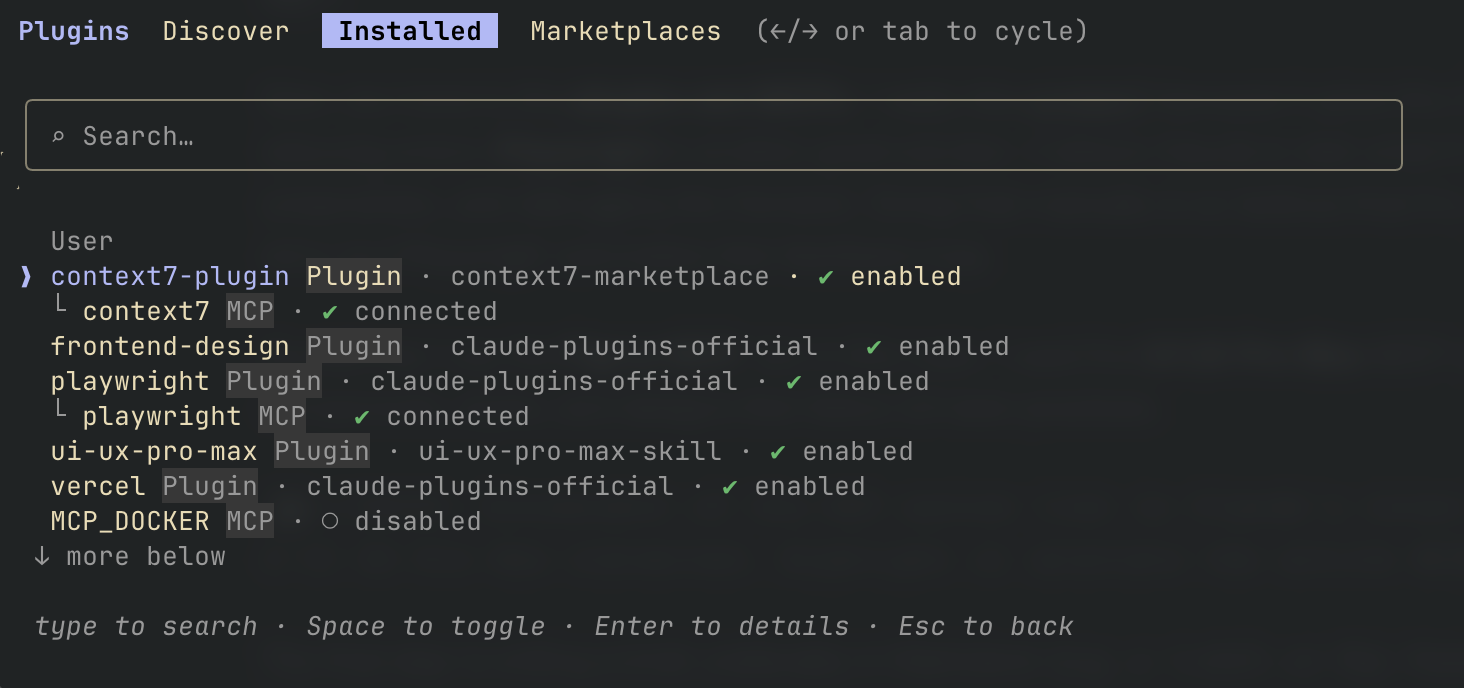
Now, we move to the plugins and MCPs. I really like context7 because it gives the AI a knowledge base and best practices, thereby reducing errors. Playwright is another great solution. It allows Claude to test what it's building by clicking, scrolling, taking screenshots, and debugging the frontend. Doing that manually is so tedious that it's often faster to just do it yourself through trial and error, but Playwright automates that feedback loop.
Sometimes I use the Figma MCP, but in this case, I used the UI UX Pro Max MCP server. It contains libraries of ready-to-use UI components, styles, and designs that follow UX best practices.
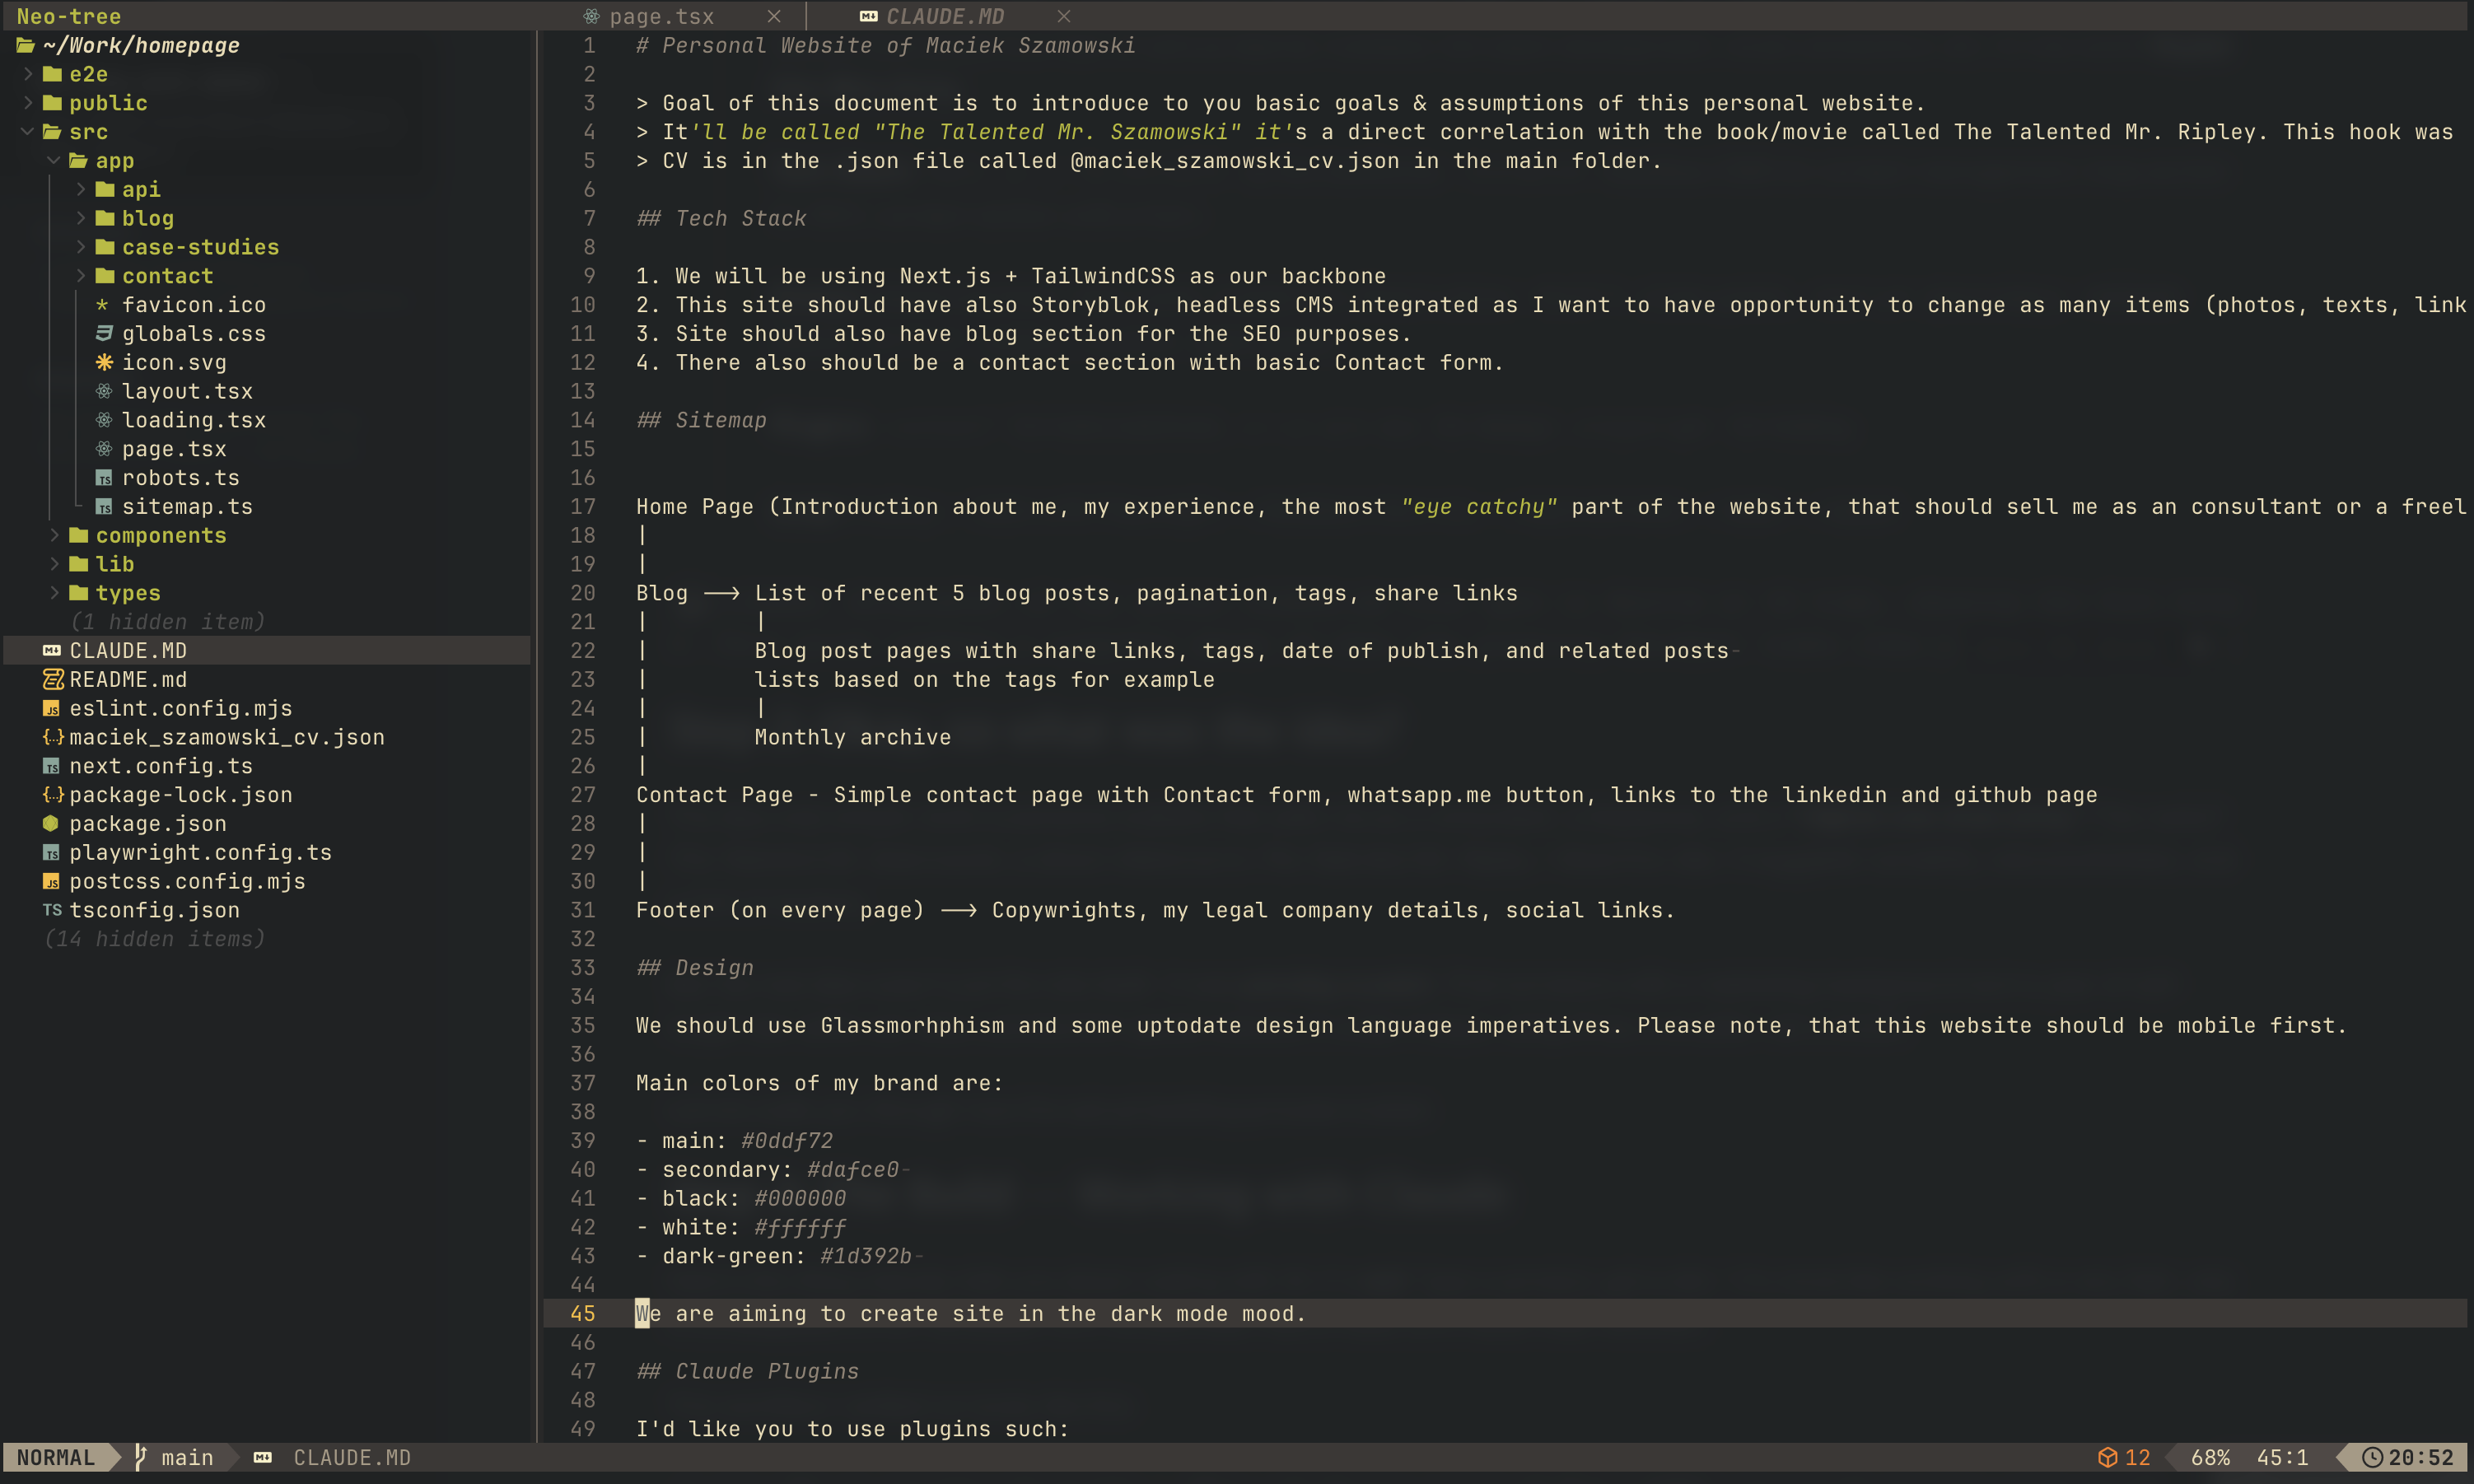
 The final step is writing a brief, preferably in Markdown (e.g., a CLAUDE.md file). Here, we describe the site we want to create, its purpose, the structure, and crucially, the iterative loop the AI should follow:
Execute my command.
Check if everything was done according to context7.
Use Playwright for testing to ensure everything works.
If everything is okay, proceed to the next step.
This approach significantly increases the probability that everything will work according to plan.
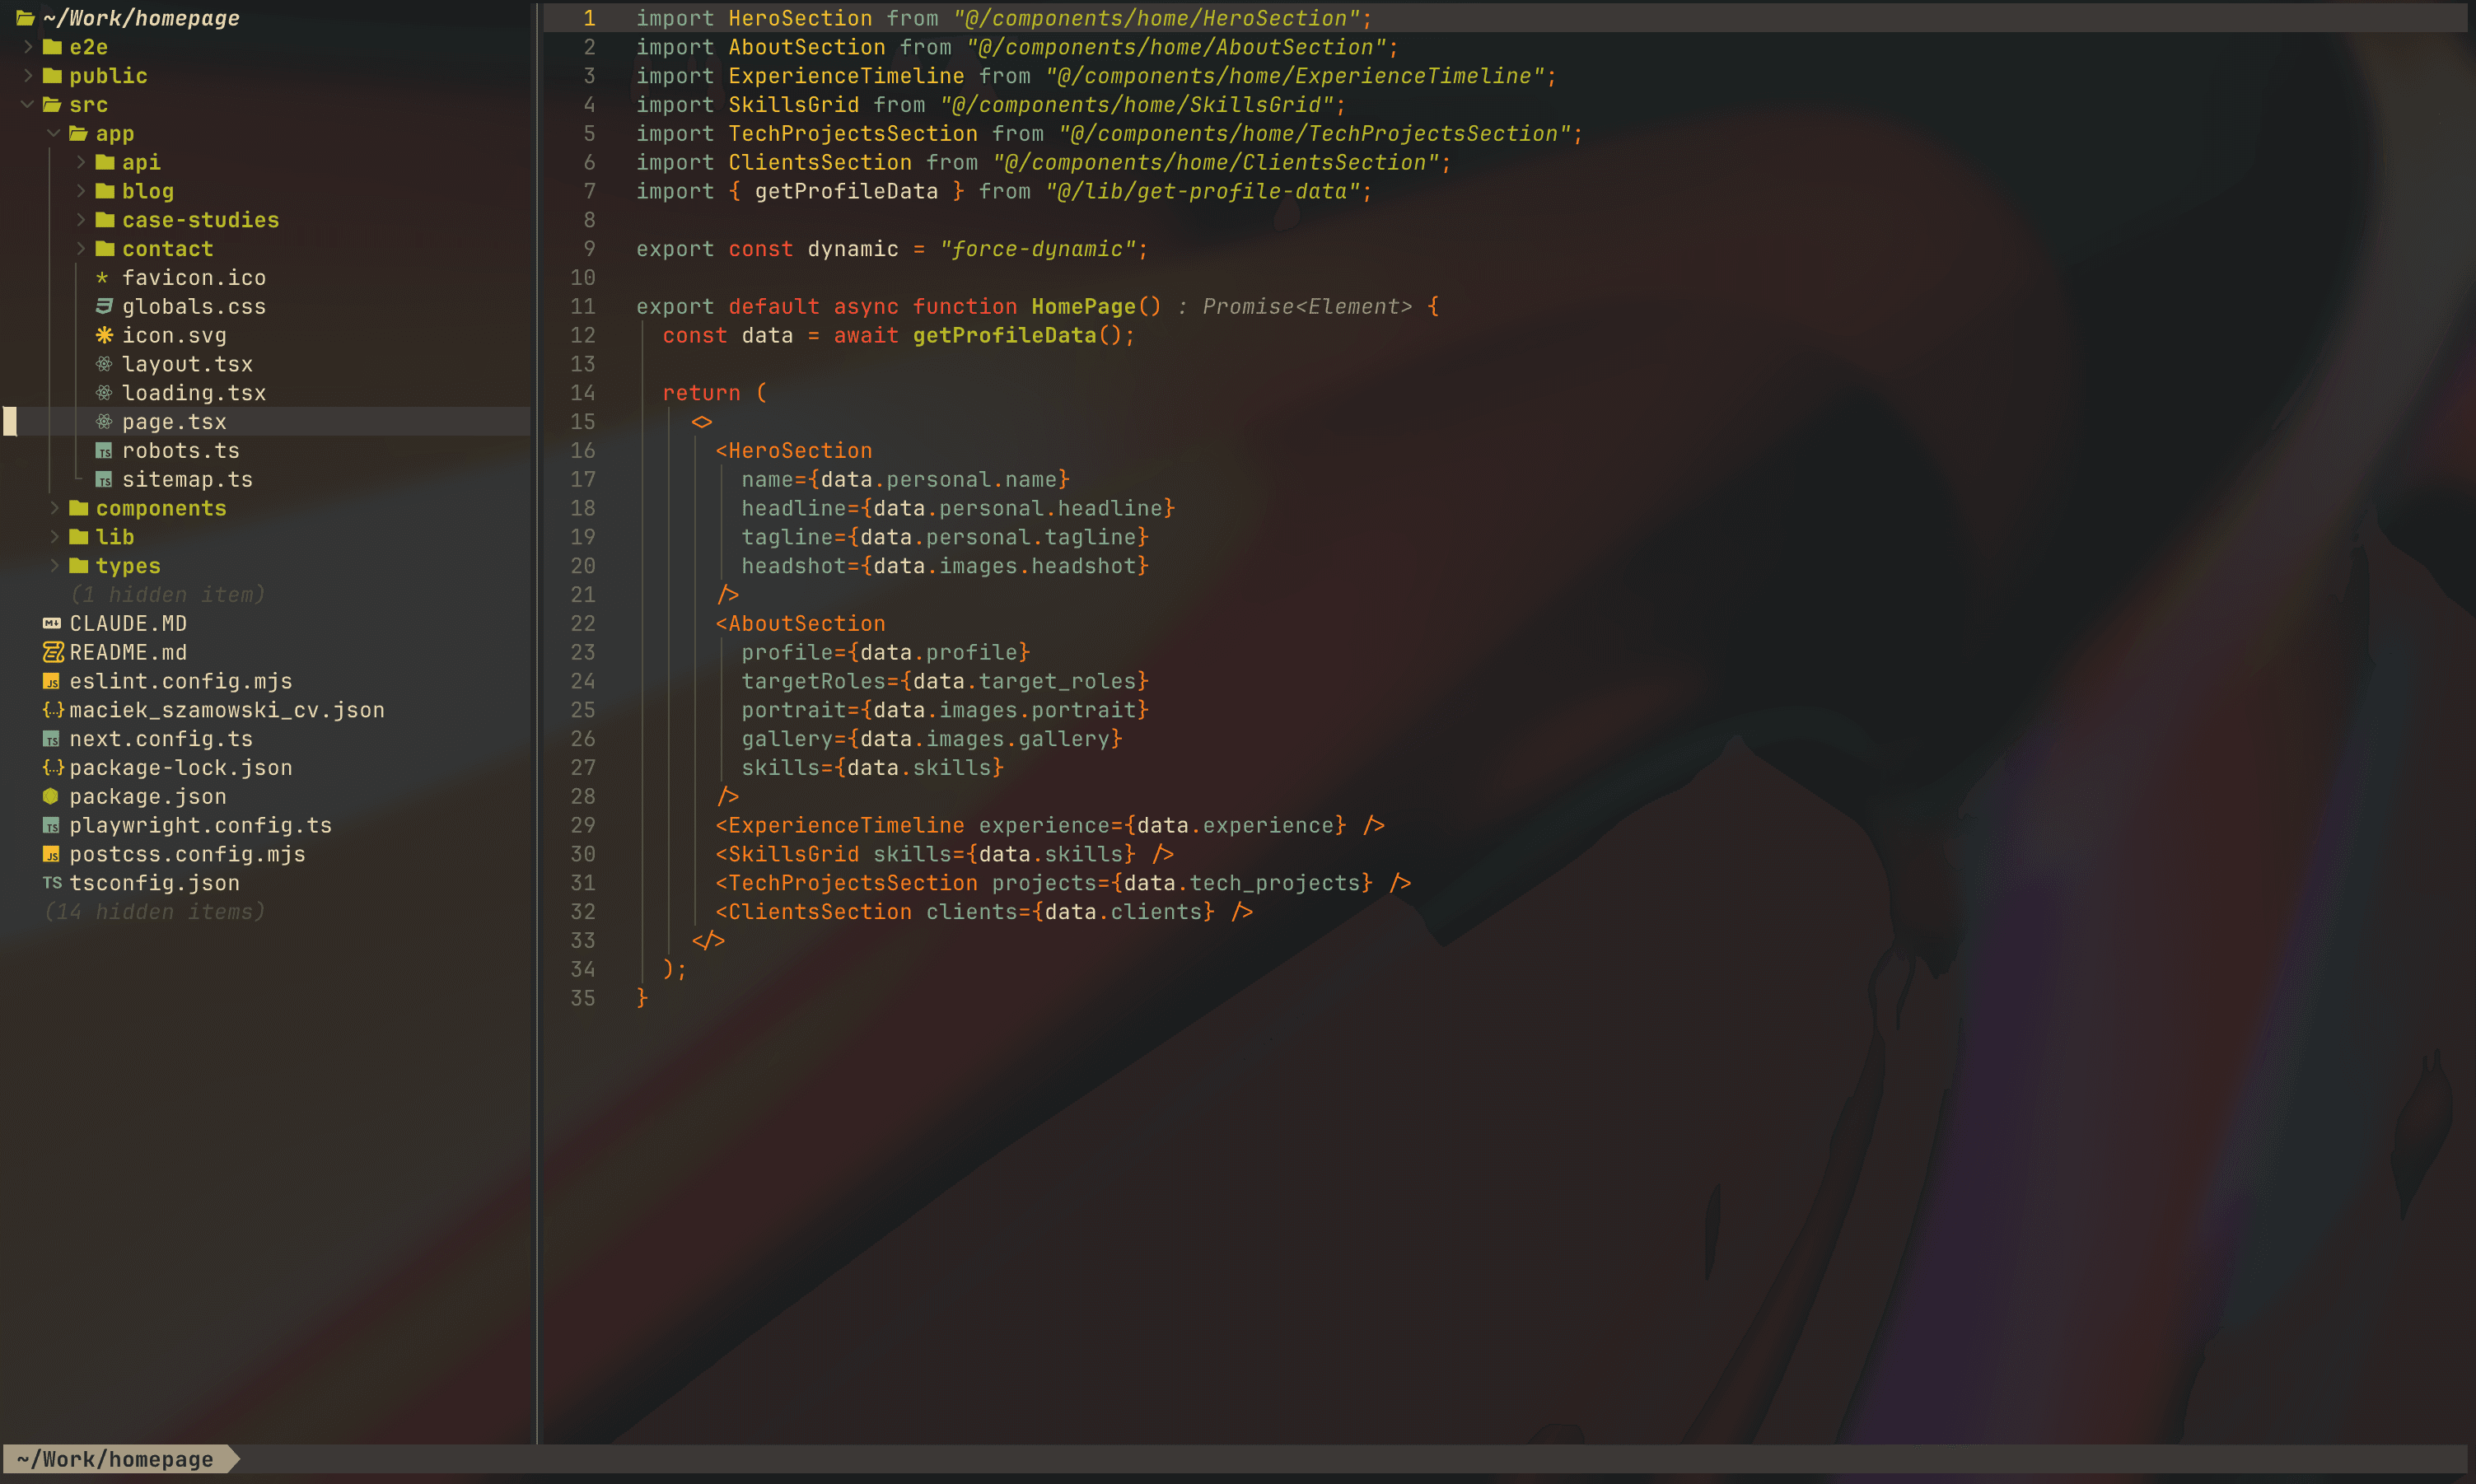
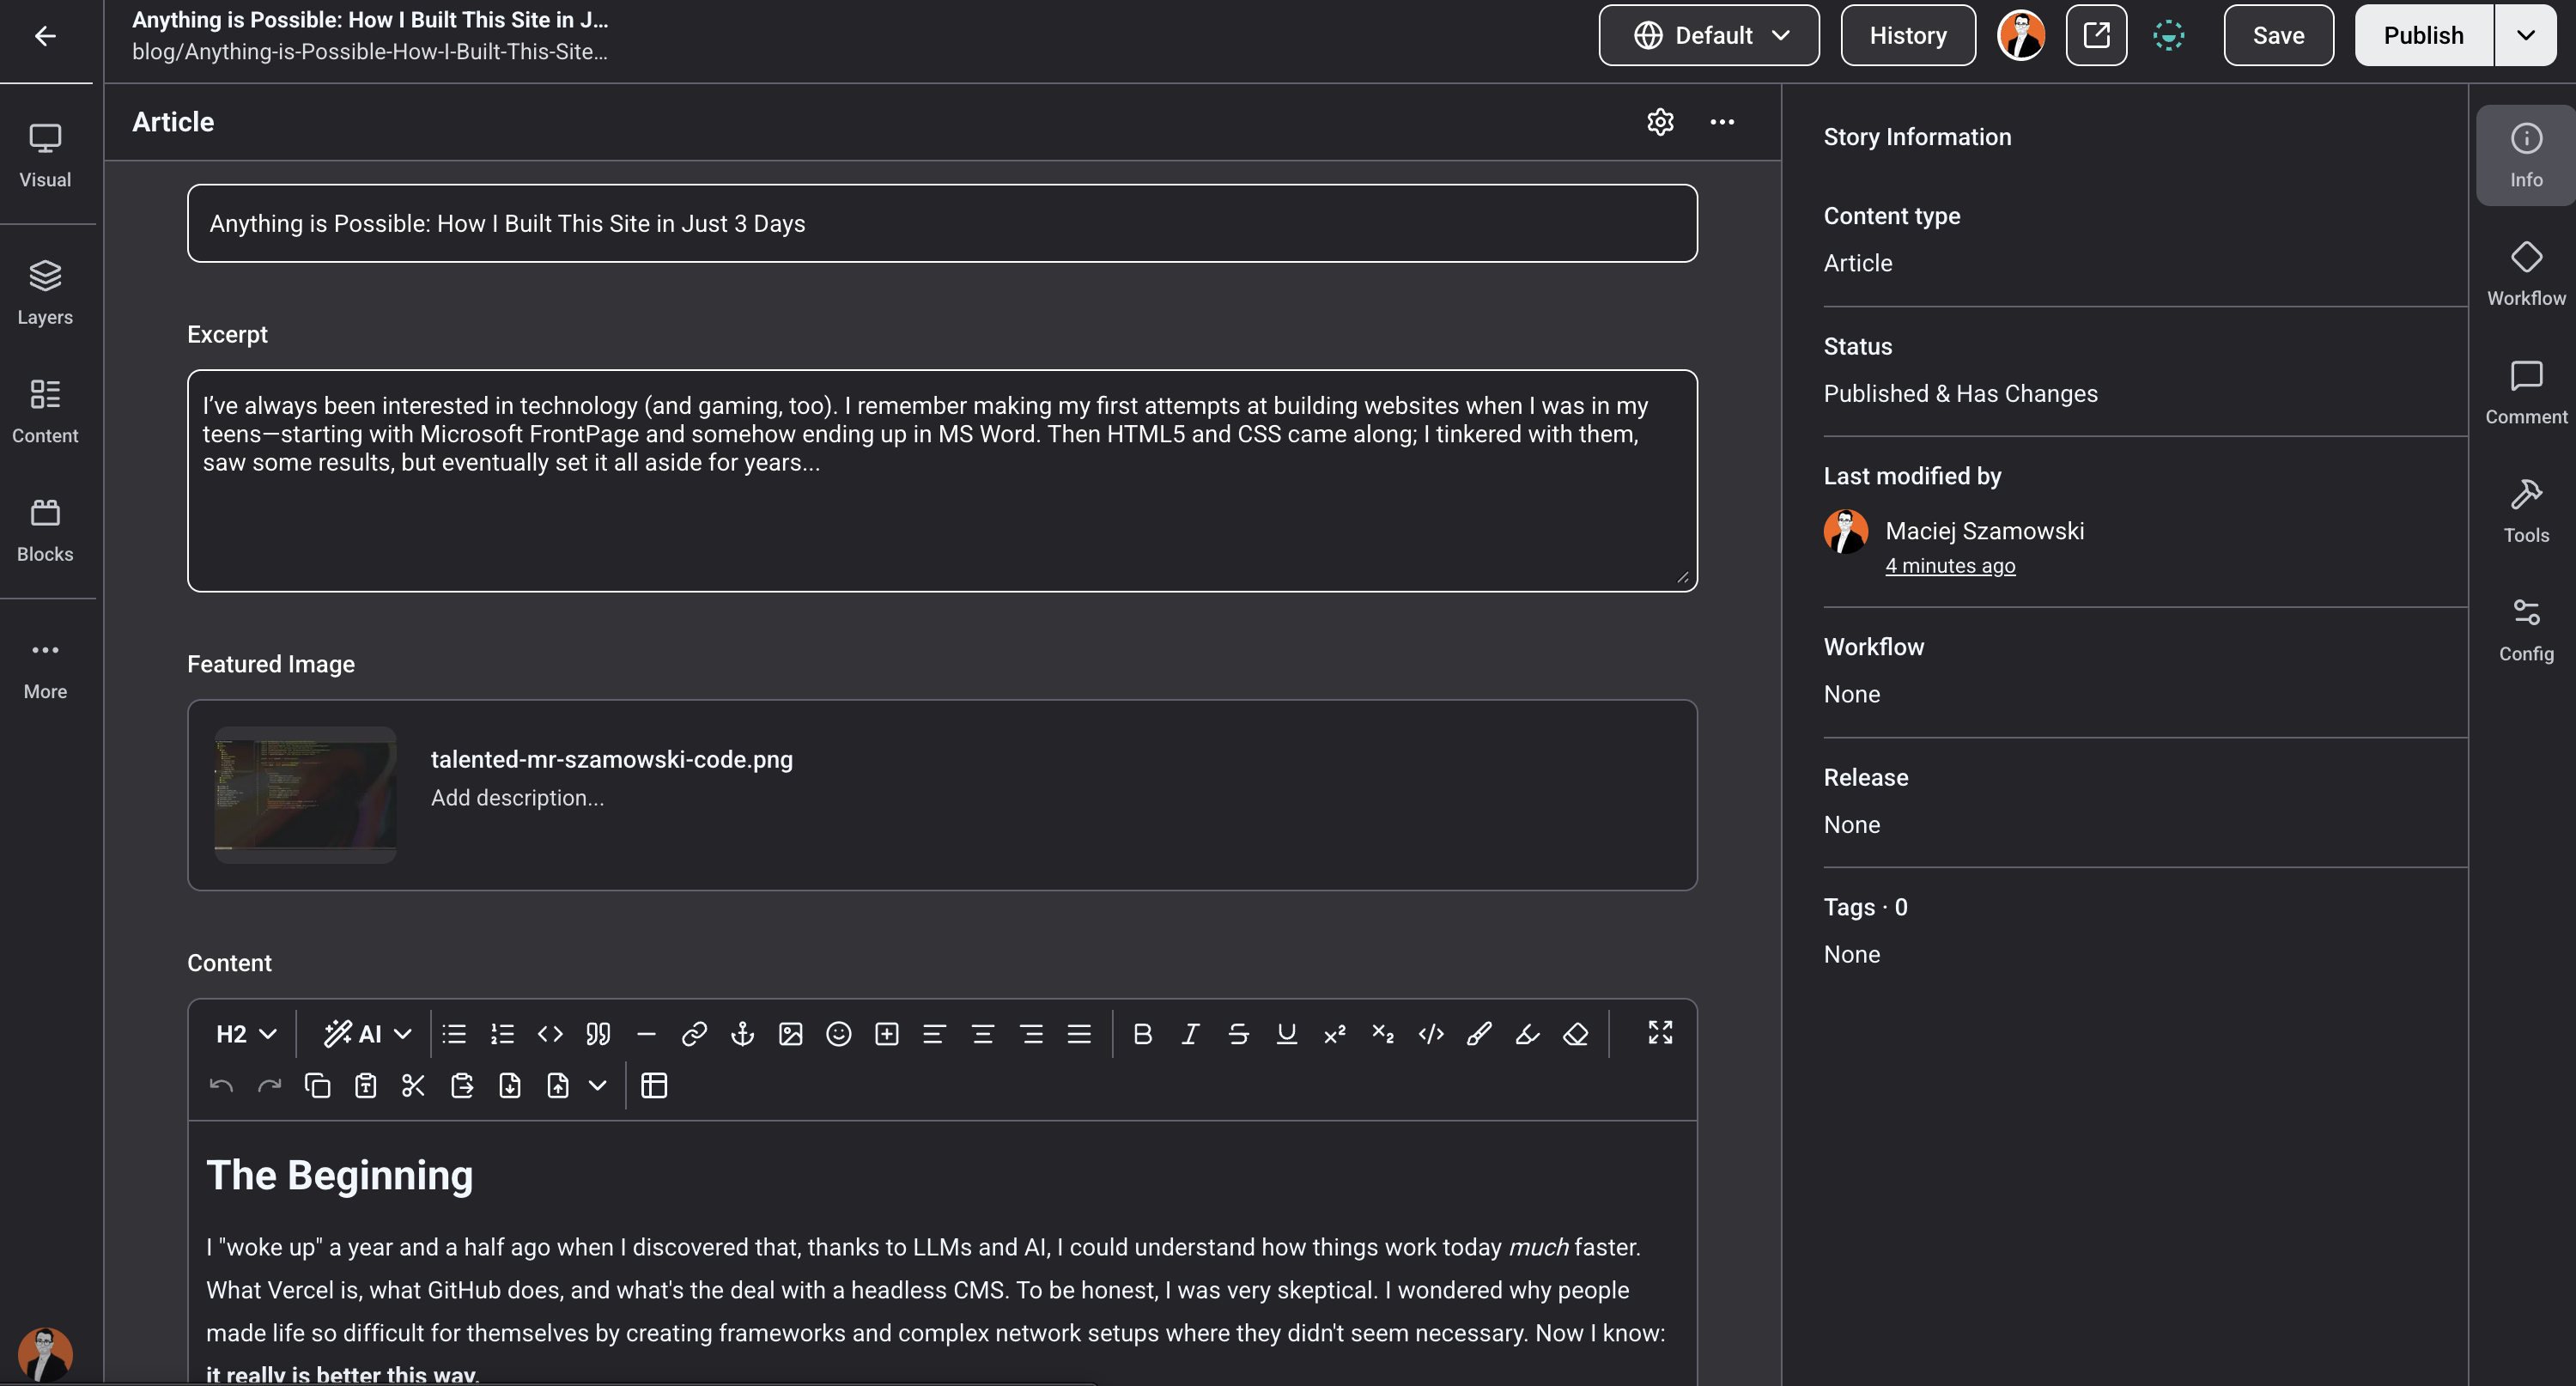
Here you can see exactly how I briefed Claude:
Personal Website of Maciek Szamowski
Goal of this document is to introduce to you basic goals & assumptions of this personal website. It'll be called "The Talented Mr. Szamowski," a direct correlation with the book/movie called The Talented Mr. Ripley. This hook was thought of because Maciek Szamowski is a man of various talents: marketer, full-stack development, music production, etc. In one word: Digital One Man Army.
Tech Stack: Next.js + TailwindCSS as the backbone, Storyblok headless CMS for content management, blog section for SEO, contact section with a form.
Design: Glassmorphism, dark mode, mobile first. Brand colors: #0ddf72 (main green), #dafce0 (secondary), #000000 (black), #ffffff (white), #1d392b (dark green).
Plugins: context7 for best practices, ui-ux-pro-max for design, playwright for testing.
Loop: Coding → tests with Playwright → feedback from me → improvements → tests → repeat.
Step 2: Okay, so what was the idea?
The idea was simple: build a personal website that sells me as a consultant, a freelancer, and a "digital one-man army." The name? The Talented Mr. Szamowski, a direct reference to The Talented Mr. Ripley. I liked the vibe. It suggests versatility, resourcefulness, and a hint of mystery.
But the real idea wasn't just the site itself. It was proving a point. That someone with a marketing background and a year of self-taught dev skills can ship a production-grade website in under 3 days, using AI as a co-pilot, not a crutch.
Let me walk you through how the actual building process looked.
Step 3: The Build — Working with Claude
Here's the thing nobody tells you about coding with AI: it's not "type a prompt, get a site." It's more like working with a very fast, very knowledgeable junior developer who occasionally hallucinates and needs clear direction.
The workflow I settled on looks like this:
I give Claude a task from the brief (e.g., "Set up the Next.js project with TailwindCSS and create the basic layout structure").
Claude writes the code, referencing context7 for best practices.
Playwright runs the tests. Does the page render? Are the elements in the right place? Is it responsive?
I review. If something is off, I tell Claude what to fix. If it's good, we move on.
Rinse and repeat. That's the loop. It sounds simple, but the discipline of sticking to it is what separates a working site from a mess of spaghetti code.
What went well
The initial scaffold came together fast. Next.js project setup, TailwindCSS config, folder structure, routing, all done in the first session. Claude is genuinely great at this kind of structural work. It knows the conventions, it follows them, and if you point it to context7, it stays up to date with the latest API changes.
The glassmorphism design was another win. I described the aesthetic I wanted (dark mode, glass-like cards, my brand colors with #0ddf72 as the main green and dark backgrounds) and Claude nailed the CSS on the second attempt. The first try was too subtle; I pushed for more contrast and got exactly what I wanted. This is where knowing CSS basics pays off. You can't direct someone (or something) if you don't understand the medium.
The particle animation in the background? That was a fun one. I wanted something that gives the site a "techy" feel without being distracting. Claude suggested tsparticles, implemented it, and after a few tweaks to particle density and speed, it looked great. The navbar easter egg was my idea. I won't spoil it here, but let's just say: if you visit the site and interact with the nav, you might discover something unexpected. Claude helped implement it, but the concept was mine. This is important: AI executes, but the creative direction has to come from you.
What went wrong
Plenty. Let me be honest about that.
Claude sometimes "forgets" what it built three prompts ago. You'll ask it to modify a component and it'll rewrite it from scratch, breaking things that were already working. The solution? Be very specific. Don't say "fix the header." Say:
"In the Header component at components/Header.tsx, change the padding from p-4 to p-6 and add a backdrop-blur-md class to the outer div."
The more precise you are, the fewer surprises you get.
Another issue: responsive design. Claude tends to build for desktop first despite being told "mobile first." I had to keep pulling it back. Check the mobile view. Check the tablet view. Playwright helped here. I could set viewport sizes and catch layout breaks automatically, but it still required manual oversight.
The contact form was trickier than expected. I used Resend for email delivery, and while Claude set up the API route correctly, the error handling was initially poor. No validation, no user feedback, just a silent fail. I had to explicitly brief it on edge cases: What if the email field is empty? What if the message is too long? What if Resend's API is down? Each of these required a separate prompt and test cycle.
Step 4: Storyblok — The CMS Layer
This is where things got interesting. I chose Storyblok as my headless CMS because I wanted the ability to change content (texts, images, links) without touching the code. If you've never used a headless CMS, think of it as a backend dashboard where you manage your content, and your frontend (Next.js in my case) fetches that content via API.
Why Storyblok?
I looked at several options: Contentful, Sanity, Strapi. Storyblok won for a few reasons. First, the visual editor. You can see your changes in real-time on the actual site, not some abstract preview. Second, the Next.js integration is solid and well-documented. Third, the free tier is generous enough for a personal site.
The integration process
Setting up Storyblok with Next.js required a few steps: installing the @storyblok/react SDK, creating components that map to Storyblok's content types, and setting up the preview mode so I could edit live. Claude handled the boilerplate well. It knows the Storyblok React SDK and the patterns for bridging CMS content to Next.js pages.
The blog section was the most CMS-heavy part. Each blog post lives in Storyblok with fields for title, body (rich text), tags, publish_date, featured_image, and seo_metadata. The frontend fetches these, renders them with proper formatting, and generates the tag-based related posts and pagination. Claude built the data fetching layer and the rendering components. I configured the content model in Storyblok's dashboard myself. This is one of those things where doing it manually gives you a better understanding of how your data flows.
One gotcha: Storyblok's rich text renderer. The default output doesn't always play nice with TailwindCSS classes. I had to create a custom resolver for certain block types (code blocks, images, embeds) to make sure they rendered correctly within my design system. Claude wrote the resolver, but I had to test each content type manually to catch edge cases.
The payoff
Now I can log into Storyblok, change any text on the site, add a new blog post, swap an image, and it's live within seconds. No code changes, no deployments. For someone who comes from the marketing world, this is essential. Content should be easy to manage. Period.
Step 5: Lessons Learned
After three days of intense building, here's what I took away from this experience.
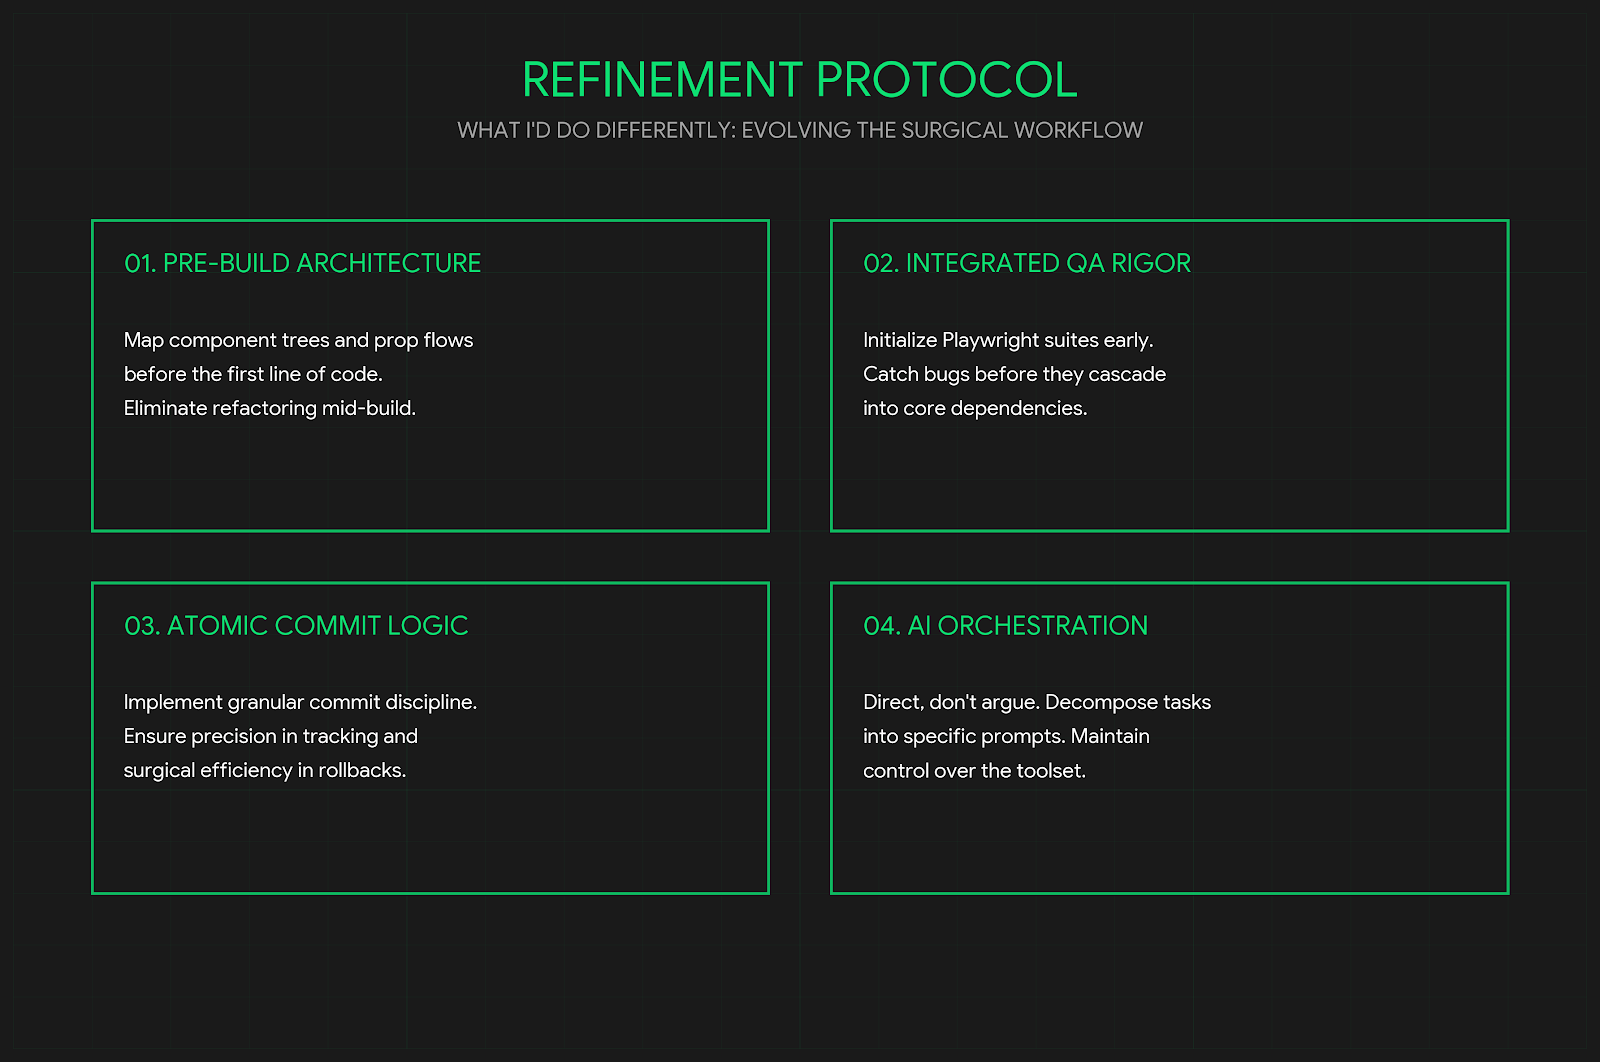
What I'd do differently
Better component planning upfront. I jumped into building too fast and ended up refactoring components midway. Next time, I'd spend an extra hour mapping out every component, its props, and how they connect before writing a single line of code. A component tree diagram would save a lot of back-and-forth with Claude.
Stricter testing from the start. I introduced Playwright tests gradually, but I should have set up the test suite from the very first component. When you test late, you find bugs that are deeply embedded in your code. When you test early, you catch them before they cascade.
More granular Git commits. I was so focused on building that my commits were too large. "Add homepage layout and styling" is not a useful commit message when it contains 15 changed files. Smaller, more descriptive commits make it easier to roll back when Claude introduces a regression. And trust me, it will.
Don't fight the AI, direct it. Early on, I'd get frustrated when Claude went in the wrong direction. I'd try to argue with it, explain why it was wrong. That's a waste of time. The better approach: give it clear, specific instructions. If it's not working after two attempts, step back, rethink your prompt, or break the task into smaller pieces. Claude is a tool. A powerful one, but still a tool. You need to know how to use it.
The bigger picture
A year and a half ago, I couldn't tell you what a framework was. I used WordPress like everyone else and thought "programming" was for engineers with CS degrees. Today, I built a full-stack website with a headless CMS, automated testing, background animations, and a contact form, in under 3 days.
That's not because I'm some kind of genius. It's because the tools have changed. LLMs like Claude have fundamentally lowered the barrier to entry for building things on the web. But, and this is crucial, they haven't eliminated the need to understand what you're building. If I hadn't invested time in learning Python, in understanding how the terminal works, in getting comfortable with Linux and Bash, I'd still be stuck in prompt-and-pray mode.
The real superpower isn't AI. It's AI plus foundational knowledge. Learn the basics, build a solid mental model of how things work, and then let AI accelerate you. That's the formula.
And if you're reading this thinking "I could never do that", you absolutely can. Start with the terminal. Learn a language. Build something small. Break it. Fix it. Then build something bigger.
The tools are there. You just have to pick them up.
